The Best Way to Paint Wood Furniture
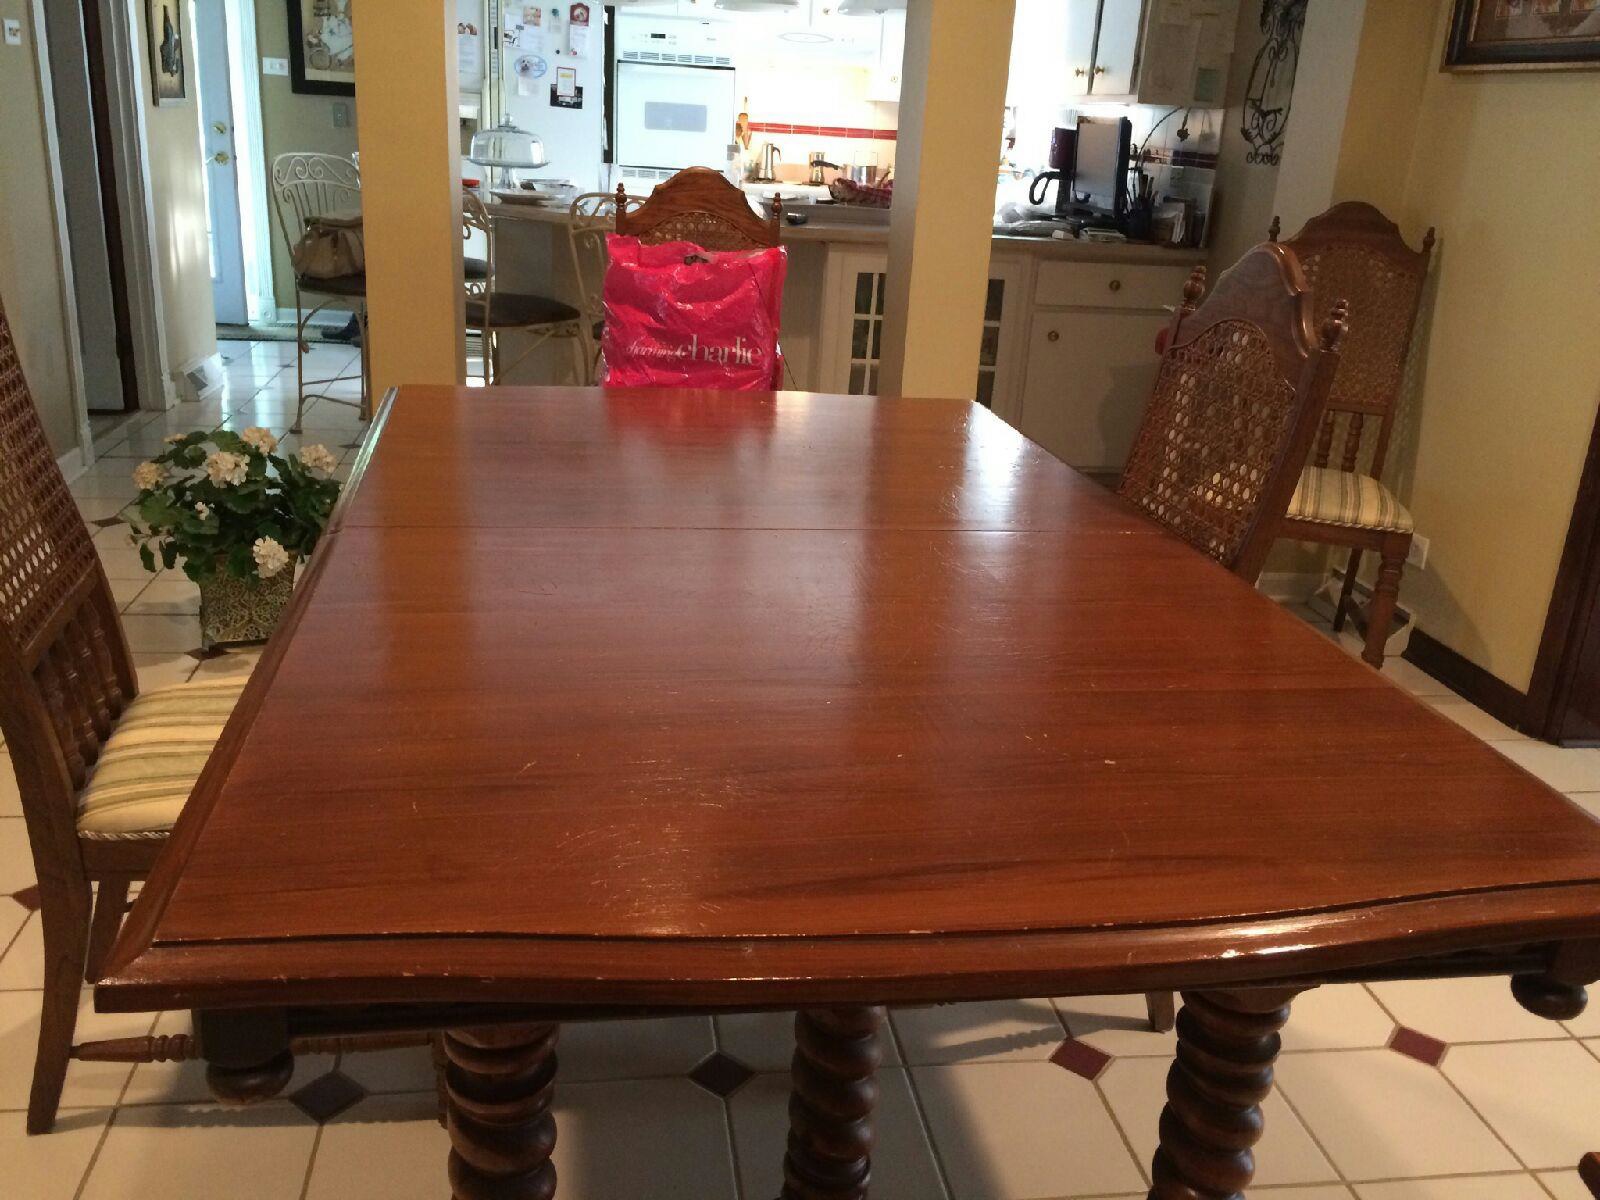
Wood furniture is highly sought after because of its style, natural beauty, and especially its durability. When treated properly, all types of wood furniture, including tables, chairs, cabinets, and more, can last for decades. The part of wooden furniture that does not typically last too long, however, is the stain, finish, or paint.
All wooden furniture has either paint or a wood stain over the wood and a finish to protect the paint or stain. Repeated use of the furniture can cause the protective finish, as well as the paint or wood stain underneath, to wear out, making the furniture look old and faded. If you have wood furniture that has a worn-out finish, wood stain, or paint but is still in good condition otherwise, you can give new life to this furniture with a new paint job.
Painting wood furniture is a relatively easy project that you can do yourself and it is an economical way to get the most use out of your furniture. In this guide, we will lay out the steps that will help you strip down and paint your wood furniture. Whether you have old wood furniture that needs a refreshed look, or you want to change the look of newer furniture to fit new décor, this guide will help.
If you don’t feel comfortable stripping, painting, and finishing your wood furniture yourself, our professionals at Furniture Medic by MasterCare Experts can help with our wood furniture refinishing services. We also have a variety of wood stains and paint colors available to match the original look of the furniture or create a new look.
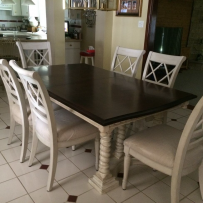
If you have a worn-out wood furniture, you can give new life to it with a paint job
Preparation for Painting
Before any painting can take place, you need to prepare the furniture. The following steps will help you get your wood furniture ready for painting.
- Remove parts: You should start by taking removable parts off of the furniture. This includes doors, drawers, shelves, legs, and hardware. If your furniture has pull out drawer boxes, look for screws that allow you to remove the front piece. This will make the preparation and painting easier.
- Repair surface damage: As you take your furniture apart, check for nicks and scratches on the surface and check for loose joints. If there are scratches and other surface blemishes, use putty or wood filler to fill the blemish. Sand the filler with 220-grit sponge or sandpaper to smooth out the surface.
- Sand the surface: It is important to sand the entire surface of the furniture piece to remove the remaining finish, paint, or stain. There are guides out there that claim that you can paint your wood furniture without sanding, but sanding the furniture gives the best results. Use 80 or 100-grit sandpaper at first and move up to a rougher grit between 150 and 220 depending on the strength of the finish. It is best to use an orbital sander or something similar as sanding by hand is difficult and time consuming. Hand sanding should be done in areas that are difficult to reach with a sander.
- Clean the surface: Once the sanding is done, use a lint free cloth like a tack cloth to wipe off the dust and residue. You can do this with a dry cloth or a damp cloth. Vacuuming after wiping the surface down will ensure there is no dust left.
- Tape it off: Using painters tape, cover the areas of the furniture you do not want to paint such as cabinet interiors or difficult to remove hardware and hinges.
- Prime the furniture: Next, you will need to apply a primer to the surface of the furniture. Prepare your brush by running water over the bristles and shaking it dry. Apply a thin coat of primer in the direction of the wood grain and let it dry for ten minutes. After this application, sand the surface with a 220-grit sponge and wipe it clean. Repeat this process to apply two or three more coats of primer.
Applying the coat lightly will ensure a smooth finish
Wood Furniture Painting
Now that the preparation is complete, it’s time to paint your wood furniture. By now you should have your preferred paint or wood stain chosen so you can go straight to the painting process. Follow these steps to paint your furniture.
- Prepare work area: You should choose an area for furniture painting that has good ventilation and space so you can walk around the furniture piece but is also protected from breezes and direct sunlight. Remove dust and debris from the floor and overhead lights with a vacuum to prevent dust from settling on the freshly painted surface. After vacuuming, wipe the dust off the furniture one more time.
- Lighting: Set up portable and adjustable lights at an angle on the surface of the furniture. Angled lighting will help you better spot runs and drips.
- Painting: If you are using latex paint, use a synthetic bristle brush and if you are using oil-based paint, use a natural bristle brush. You can also use a 4-inch foam roller to paint large flat surfaces. If you use a roller for some surfaces and a brush for others, make sure the paint looks the same on all surfaces as it levels and dries. When painting with a brush, move the brush back and forth to spread the paint in the direction of the wood grain. You can expect the additives in the paint to level out the brush strokes.
- Additional Coats: It is best to apply multiple thin coats of paint as opposed to fewer thick coats. After applying the first thin coat of paint, let it dry and check for drips and runs. You can remove these blemishes by sanding them off or scraping them off carefully with a knife blade. Cover these areas with a thin coat of paint. When the first coat is dry and free of drips and runs, apply a second thin coat of paint and repeat the process until several additional coats have been applied. You should check the manufacturer recommendations for drying times because the surface can feel dry while paint is still wet underneath. It is important for the paint to be thoroughly dry before doing any sanding or adding an additional coat.
- Apply Finish: After you have applied enough coats of paint and the paint has dried, it is time to apply a protective finish. Using a different foam roller, apply a thin coat of a water-based protective finish. Applying the coat lightly will ensure a smooth finish and prevent bubbles from forming. Give the finish 72 hours to dry before putting the furniture back together and putting it back in use.
Wood Furniture Refinishing and Restoration from Furniture Medic by MasterCare Experts
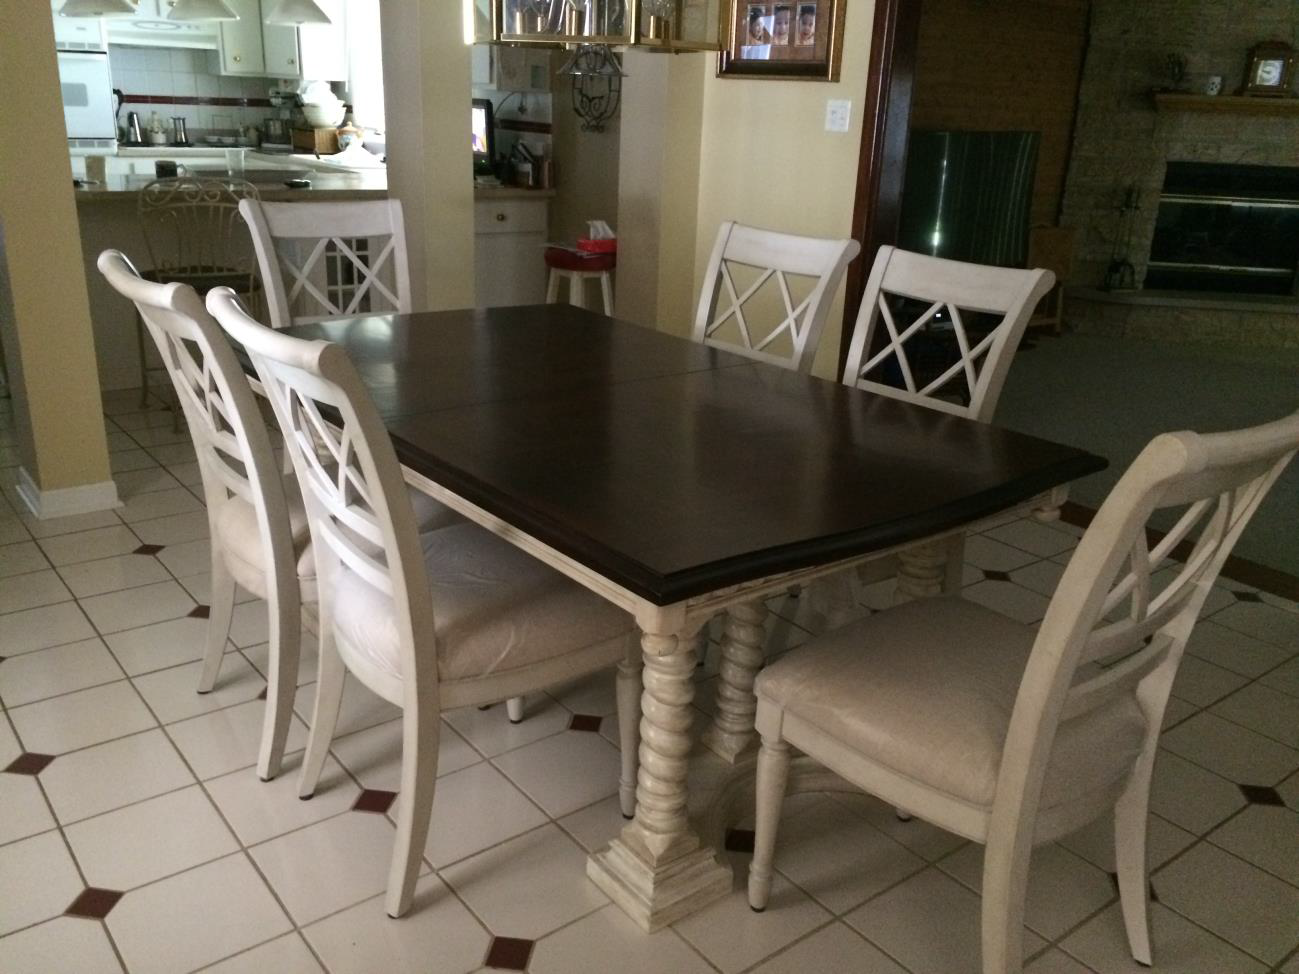
One of the best ways to get more use out of your old wooden furniture is to update its look with a fresh paint job. The steps outlined above will help you paint your wood furniture so that it looks new again.
Furniture painting is the type of job that can be done as a DIY project, but you can also reach out to our professionals if you don’t want to do it yourself. At Furniture Medic by MasterCare Experts, we provide wood furniture refinishing and restoration services to help restore all types of wood furniture. You can choose to have us restore the original look of the furniture with the help of our color matching services or choose a brand new paint color for an updated look.
You can call Furniture Medic by MasterCare Experts at (630) 653-3131 to learn more or send us your project through our Submit Your Project feature.